Sensory bottles are an excellent way to engage your baby’s developing senses and provide a calm, stimulating playtime experience. These simple, DIY bottles can captivate your little one with movement, color, and sound, while also encouraging cognitive and sensory development. In this guide, we’ll walk you through how to make your own sensory bottles using safe materials you likely already have at home.
What Are Sensory Bottles?
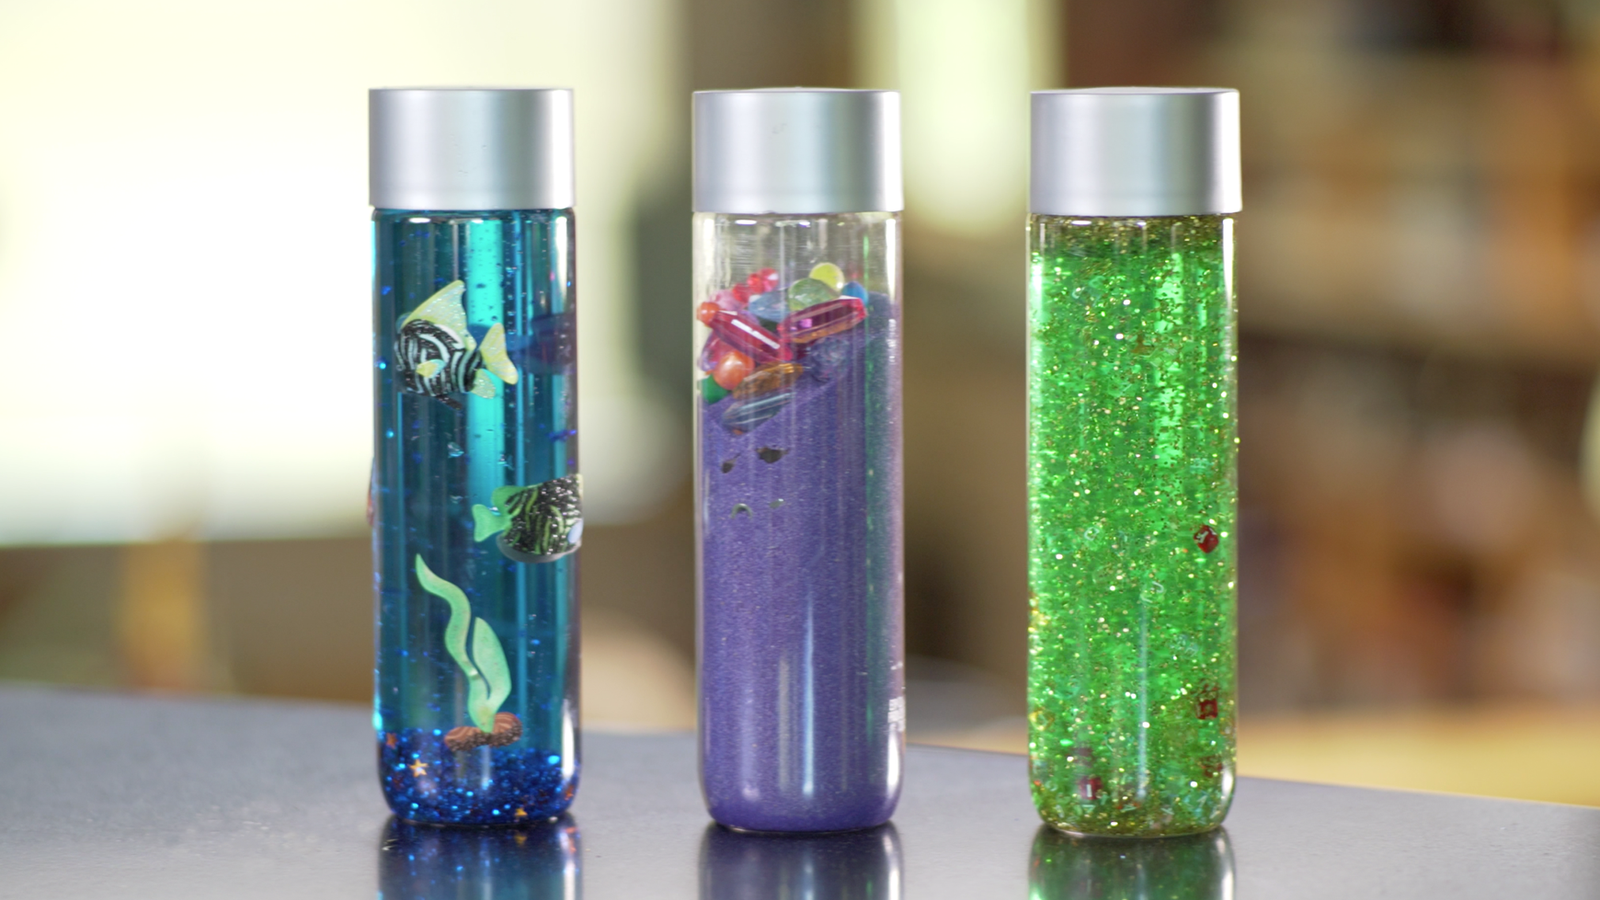
Sensory bottles are clear plastic bottles filled with various materials that stimulate your baby’s senses. The contents inside the bottle can create interesting visual effects, sounds, or tactile sensations that keep babies engaged and curious. They are ideal for babies, especially from 6 months and up, as they encourage sensory exploration in a safe and controlled way.
Sensory bottles are fantastic for calming babies when they’re upset, providing a quiet, soothing distraction. They also help babies develop fine motor skills, hand-eye coordination, and attention span. Since sensory bottles are so easy to make, you can create a variety of them tailored to your baby’s developmental stage and preferences.
Materials You’ll Need:
- Plastic bottles (small water bottles or baby food jars work well)
- Clear glue or baby oil (for making liquid-filled bottles)
- Water (to fill the bottle)
- Food coloring or glitter (optional for visual appeal)
- Small items to add to the bottle for sound or texture (such as beads, buttons, pom-poms, glitter, rice, or sequins)
- Hot glue gun (to seal the lid for safety)
- Superglue or duct tape (to secure the lid tightly)
Step-by-Step Instructions:
1. Select the Right Bottle
Choose a small plastic bottle or baby food jar with a secure lid. Avoid using glass bottles as they may break easily, especially when your baby starts exploring with their hands. Ensure that the bottle is clean and dry before starting your project.
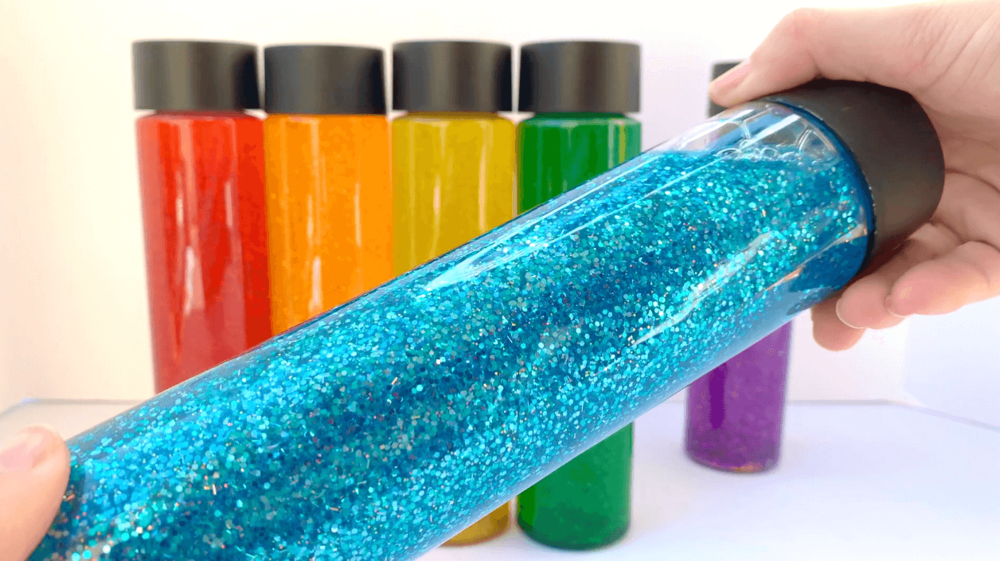
2. Choose Your Sensory Materials
The next step is to decide on the materials you’d like to include in your sensory bottle. There are several ways you can make a bottle visually interesting, engaging, and even educational:
- Water and Glitter Bottle:
Fill the bottle with water, a bit of clear glue to make the glitter move slowly, and some brightly colored glitter. This type of sensory bottle is visually soothing, and the glitter’s slow movement will capture your baby’s attention. - Beads and Buttons Bottle:
Add small plastic beads, buttons, or sequins into the bottle. You can also add some water or baby oil to make the beads move more slowly. This bottle is great for visual and auditory stimulation as it creates sound when shaken. - Rice and Pom-Poms Bottle:
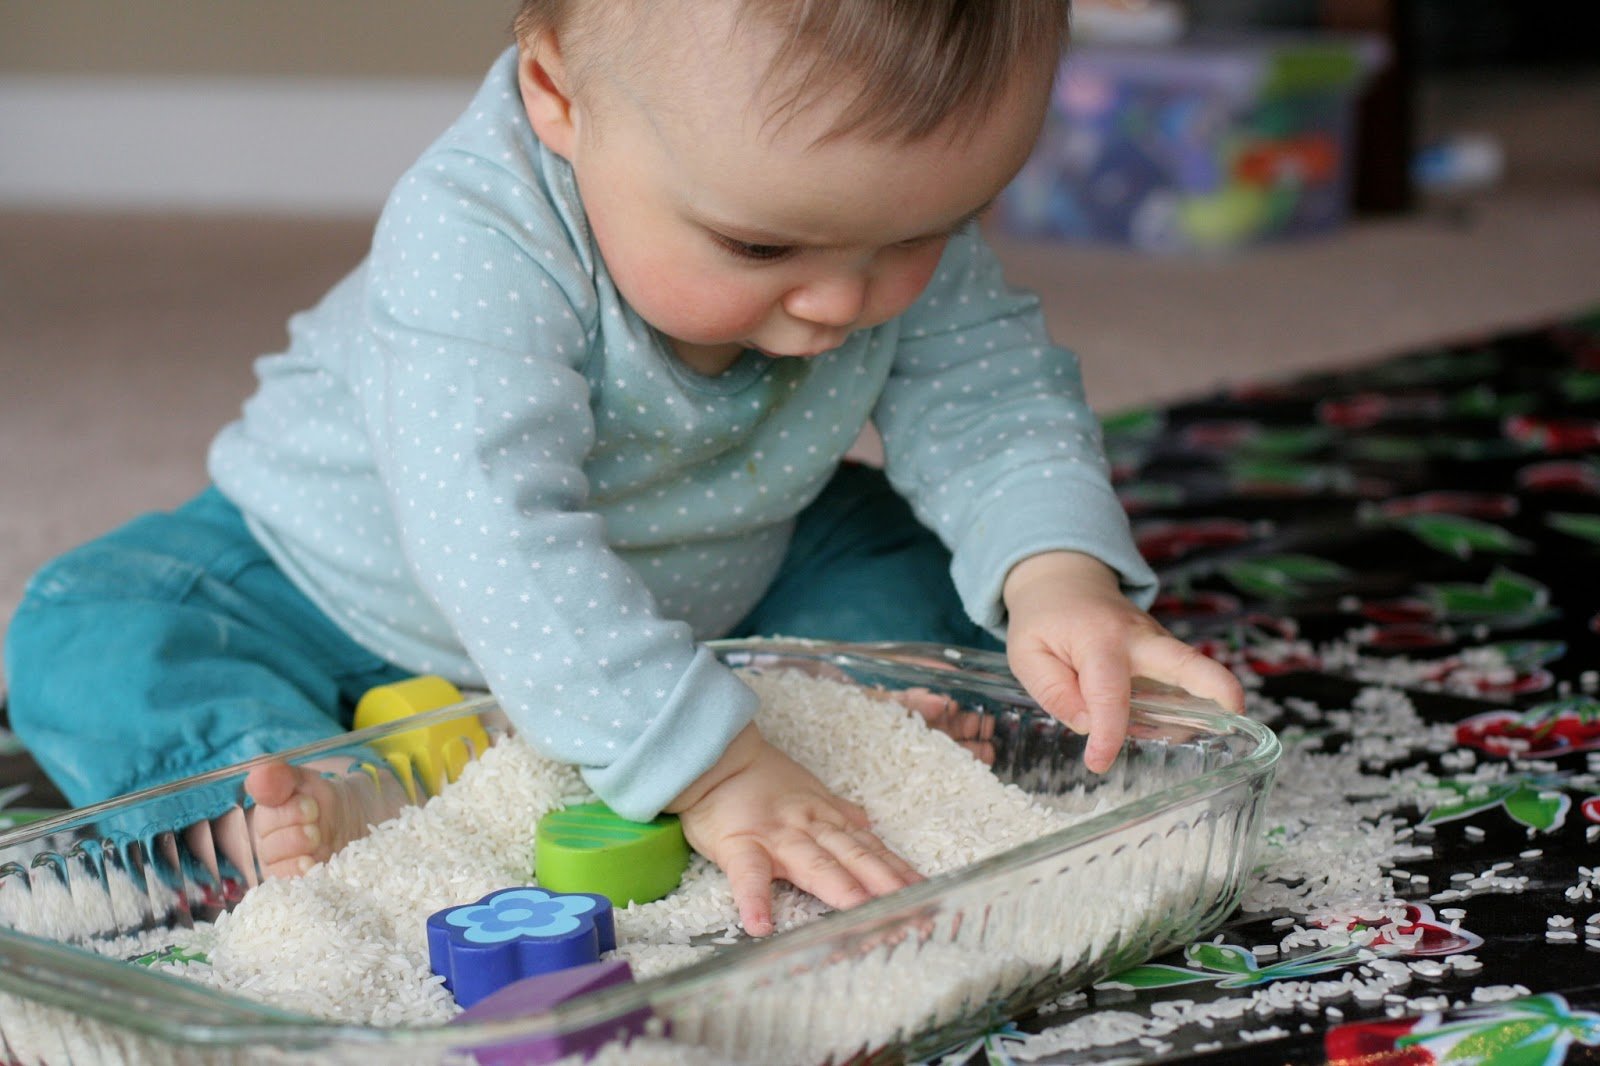
Fill a bottle with uncooked rice, small pom-poms, or foam shapes. The rice will create a satisfying sound when the bottle is shaken, while the pom-poms add color and texture. This bottle is wonderful for both auditory and tactile exploration. - Nature-Inspired Bottle:
Gather small items from nature, like pinecones, leaves, or pebbles, and place them inside the bottle. This type of sensory bottle encourages your baby to explore the textures and shapes of natural objects. - Liquid Motion Bottle:
Fill a bottle with baby oil and add water, glitter, or small colored objects. The oil and water don’t mix, so you’ll get a mesmerizing visual effect as the oil and water move independently inside the bottle. This type of bottle is visually engaging and offers a slow, calming experience for your baby.
3. Fill the Bottle
Once you’ve chosen your sensory items, carefully add them to the bottle. If you’re using water or baby oil, fill the bottle about three-quarters full. Make sure to leave some space at the top to allow for movement. If you’re making a liquid-filled sensory bottle with glitter or small beads, a little bit of clear glue can help slow down the movement of these items.
4. Secure the Lid
Once your bottle is filled with sensory materials, it’s time to close it up. Make sure the lid is on tightly to prevent your baby from accidentally opening it. You can secure the lid with hot glue to ensure it stays put. If you don’t have a hot glue gun, superglue or duct tape works as well. Double-check that the lid is secure before giving it to your baby.
5. Test the Bottle
Before presenting the sensory bottle to your baby, test it yourself to make sure the contents move the way you want. Gently shake the bottle and observe how the objects inside interact with each other. If you want the glitter to move more slowly, add more glue or oil; if you want it to move faster, add more water or less glue.
Safety Tips for Sensory Bottles:
- Secure the Lid: Always make sure the lid is tightly secured to prevent your baby from opening it and swallowing the contents. Hot glue or superglue around the edge of the lid will keep it in place.
- Use Non-Toxic Materials: Ensure that any items you add to the bottle are non-toxic. For example, use food-grade glitter or beads that are safe if accidentally ingested.
- Supervision: Always supervise your baby while they are playing with sensory bottles, especially when they are still at the stage where they might put things in their mouth.
Benefits of Sensory Bottles for Babies:
- Cognitive Development: Sensory bottles help babies develop their cognitive skills by encouraging visual tracking, focus, and problem-solving (such as figuring out how the bottle moves).
- Sensory Exploration: The bottles provide an opportunity for babies to explore different textures, colors, and sounds, stimulating their sense of sight, touch, and hearing.
- Calming and Soothing: The visual and auditory effects of the bottles can have a calming and soothing effect on babies, helping them to relax or focus.
- Fine Motor Skills: As babies shake, roll, or manipulate the bottles, they develop their fine motor skills and hand-eye coordination.
Conclusion
Making sensory bottles for your baby is a fun, easy, and affordable way to promote sensory development. By using safe, everyday materials, you can create a variety of bottles that engage your baby’s senses and provide endless hours of exploration. Whether you choose to fill the bottles with glitter, beads, or rice, the possibilities for creativity are endless. Enjoy making your sensory bottles, and watch as your baby’s curiosity and cognitive abilities grow!


