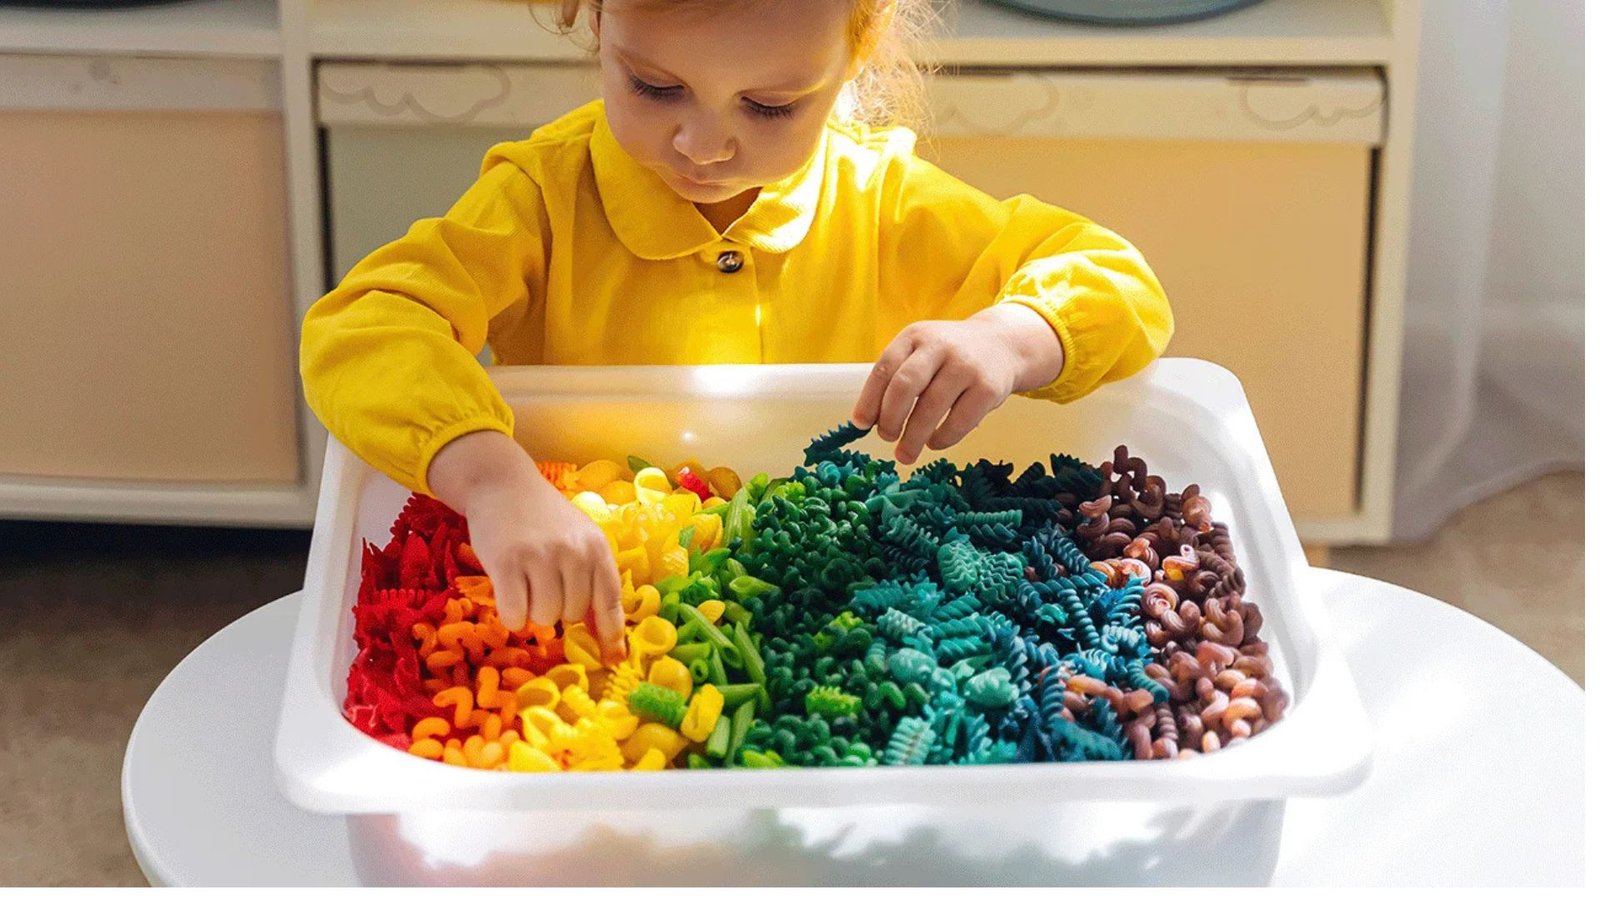
A sensory bin is a simple and effective tool to stimulate your child’s senses, encourage creativity, and foster learning. Sensory bins engage touch, sight, and sometimes smell or sound, making them an essential part of early childhood development. Let’s explore how to create a sensory bin that your child will love.
What Is a Sensory Bin?
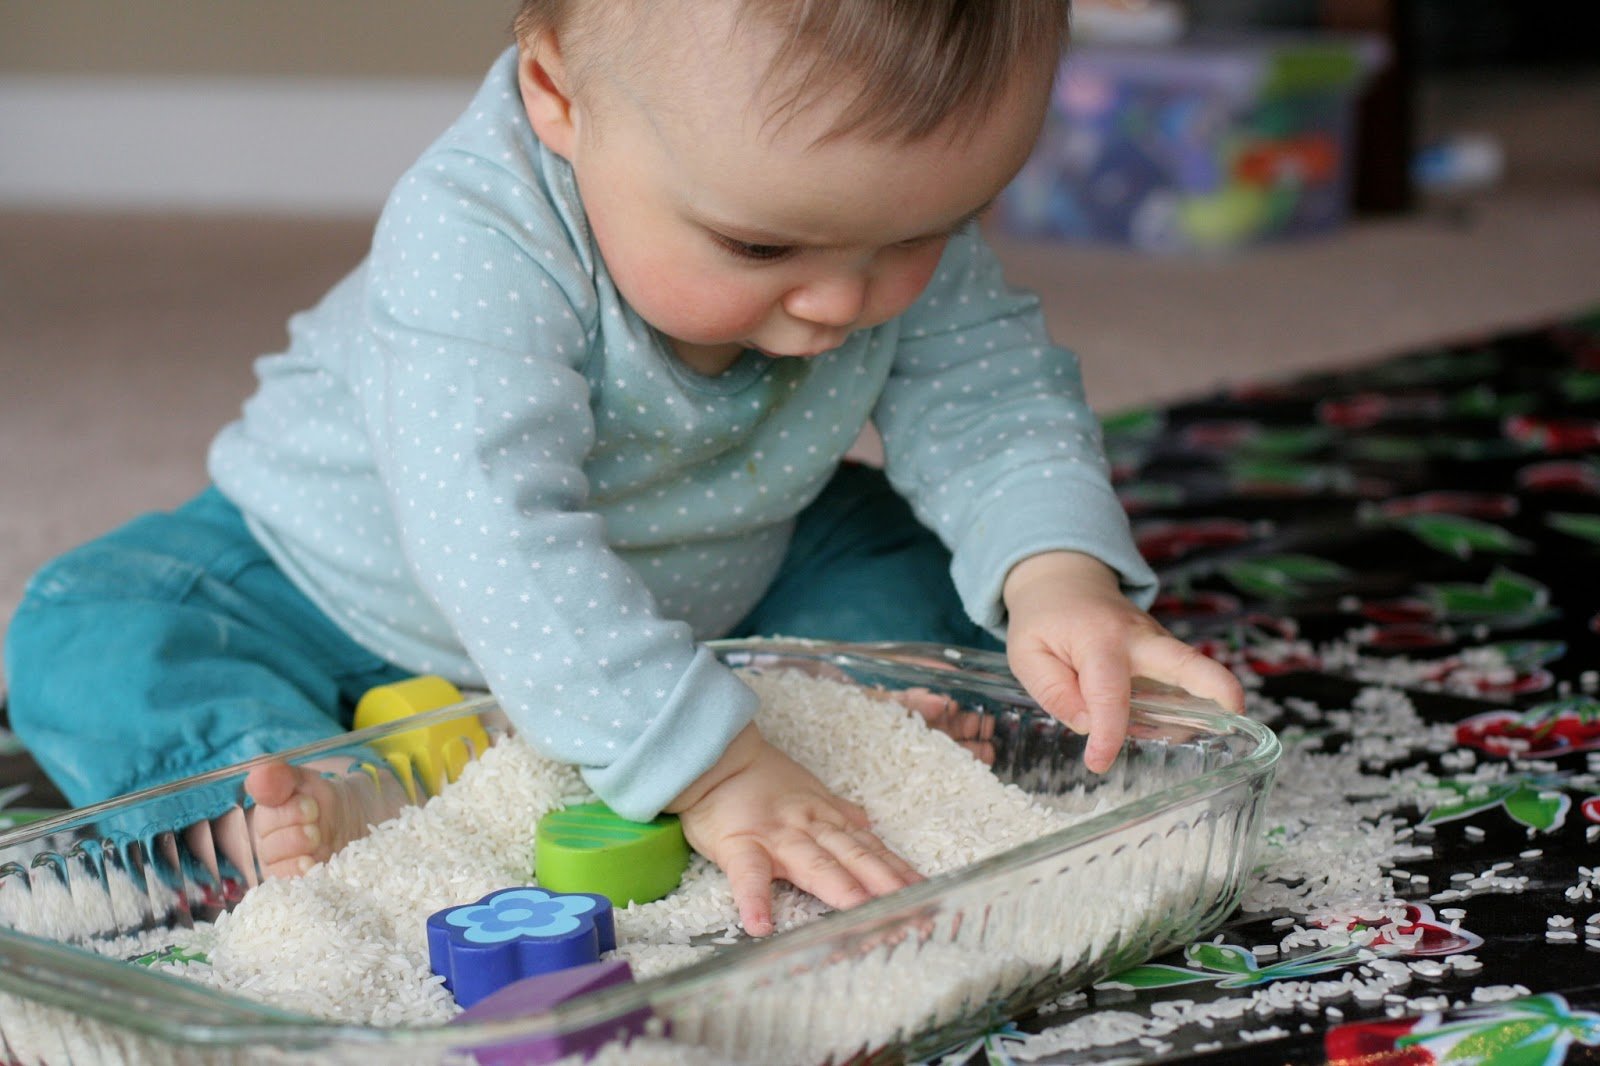
A sensory bin is a container filled with materials and objects designed to stimulate a child’s senses. It offers hands-on exploration and learning through play. Sensory bins can be themed, educational, or purely for fun.
Why Are Sensory Bins Beneficial?
Sensory bins help with:
- Developing Fine Motor Skills: Scooping, pouring, and pinching objects strengthen hand muscles.
- Encouraging Problem-Solving: Kids discover cause-and-effect relationships as they manipulate items.
- Promoting Focus: Sensory bins can calm children and improve attention spans.
- Enhancing Creativity: Open-ended play sparks imaginative scenarios.
Materials You’ll Need
To create a sensory bin, gather the following:
- Container: Use a plastic tub or box with low sides. Ensure it’s large enough for play but not too deep.
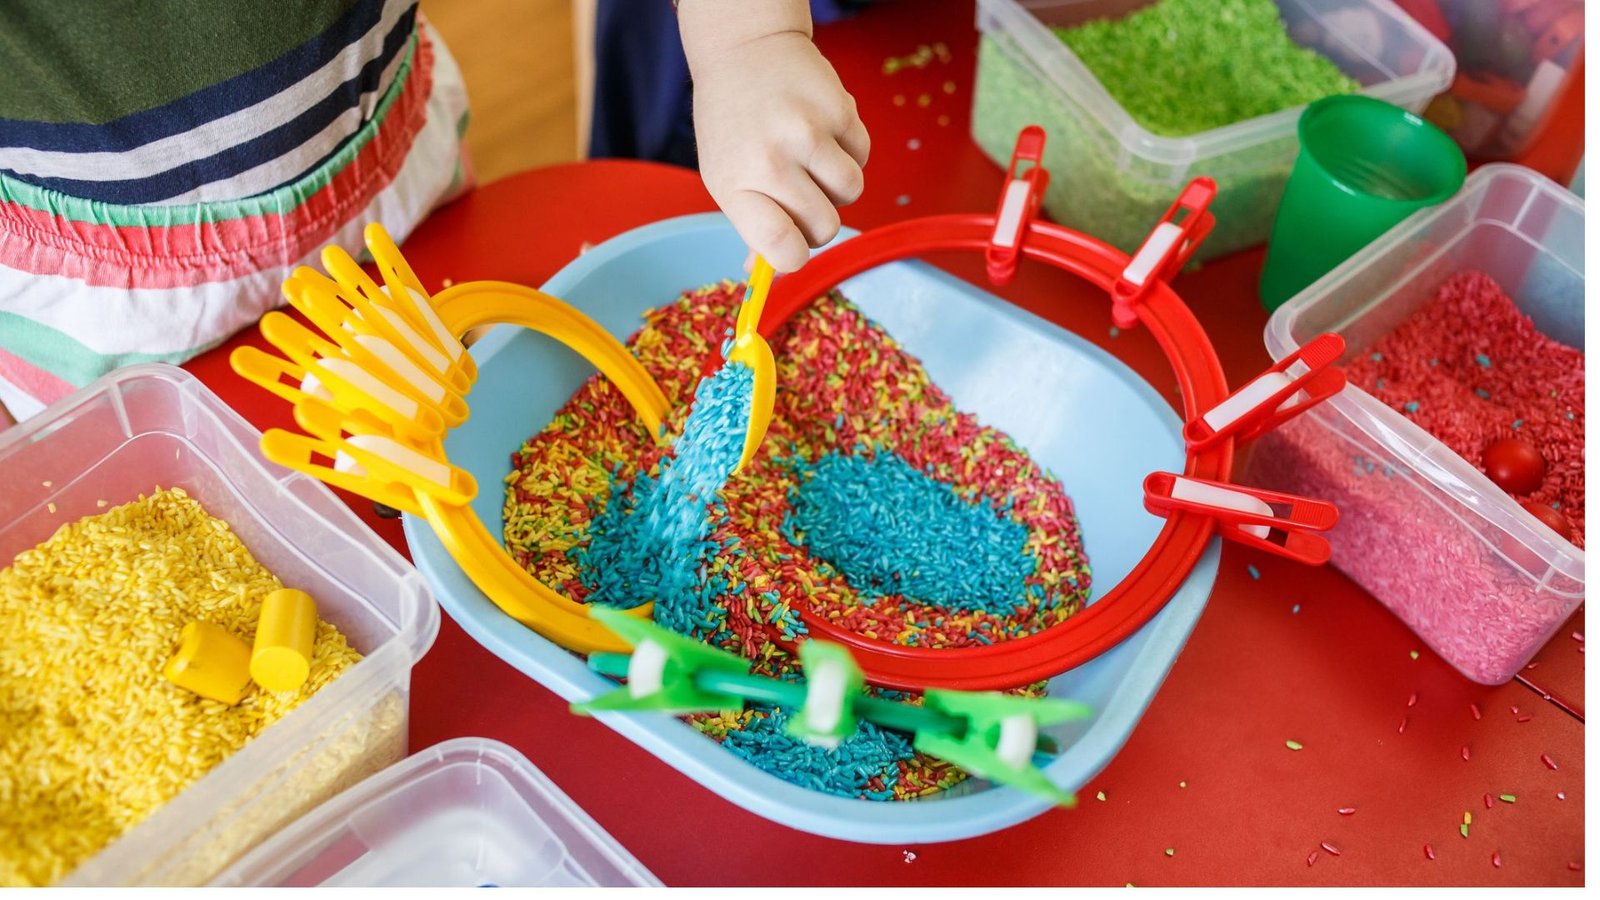
- Base Material: Choose a filler like rice, sand, water, beans, or shredded paper.
- Themed Items: Add small toys, figurines, or educational objects related to your chosen theme.
- Tools: Include scoops, spoons, tongs, or cups for manipulating the contents.
- Optional Add-Ons: Scents, colors, or textures for added sensory stimulation.
Step-by-Step Guide to Creating a Sensory Bin
Step 1: Choose a Theme
Select a theme based on your child’s interests or learning goals. Examples include:
- Ocean Adventure: Blue-dyed rice, seashells, and toy sea creatures.
- Construction Site: Kinetic sand, mini construction vehicles, and pebbles.
- Alphabet Exploration: Foam letters and small items matching each letter.
Step 2: Pick a Safe Filler
Choose a base material suitable for your child’s age. Ensure it’s non-toxic and easy to clean.
- Toddlers: Water, cereal, or edible playdough.
- Older Kids: Dried beans, sand, or small pebbles.
Step 3: Add Themed Items
Include objects that align with the theme, like toy animals, miniature furniture, or natural materials such as leaves and twigs.
Step 4: Include Manipulative Tools
Provide tools to encourage fine motor skill development. Spoons, funnels, and measuring cups make the bin more interactive.
Step 5: Set Up the Bin
Place the sensory bin on a flat surface with a mat or sheet underneath to catch spills. Arrange items attractively to spark curiosity.
Tips for Maximizing Fun and Learning
- Rotate Themes Regularly: Keep your child engaged by introducing new themes every few weeks.
- Supervise Play: Always monitor younger children to prevent choking hazards or messy accidents.
- Incorporate Educational Elements: Add numbers, letters, or counting games to encourage learning.
- Encourage Open-Ended Play: Let your child explore freely and come up with their own scenarios.
Sensory Bin Maintenance
- Clean Regularly: Wash items and replace fillers as needed to keep the bin hygienic.
- Store Safely: Keep the bin covered or stored away when not in use.
- Refresh Contents: Add or swap out items to maintain interest and relevance.
Final Thoughts
Sensory bins are versatile, fun, and educational tools for children. They provide hours of creative play while supporting sensory development and cognitive growth. With just a few materials and some imagination, you can create a sensory bin that your child will love.


